Community Astronomy Clubs in the UK: How to Find One and What to Expect
A practical guide to finding a UK astronomy club, what happens at meetings and star parties, and how to...

Most first nights under the stars follow the same arc. You pick a clear evening, carry a chair outside, wait for something spectacular, and then spend an hour squinting at a pale smudge while a neighbour's security light clicks on and off behind you.
None of that means stargazing isn't for you. It means a few small things went wrong, and almost all of them are easy to fix. Here are the mistakes that catch out nearly every beginner, and what to do instead.
Your eyes need roughly twenty minutes in the dark to reach full sensitivity, and they can lose much of it in a second. A phone screen, a car headlight, a white torch beam: any of them sends you back to the start. Red light is the answer, because it affects dark adaptation far less. A dim red torch lets you read a chart or find a dropped eyepiece cap without wrecking the night.
The effect is more dramatic than most people expect. On a truly dark site, a faint galaxy you couldn't see at all at nine o'clock can be obvious by half past. That difference isn't the sky changing. It's your eyes.
A few habits matter more than any gadget:
If a bright light does catch you, don't pack up. Turn away, close one eye, and give it a few minutes.
Wait for real darkness. At British latitudes, midsummer nights never get properly dark, so a late June evening is a poor use of time unless you're after the Moon or a bright planet. Late August through to April is the better half of the year.
Watch the Moon, too. A full Moon washes out faint galaxies and nebulae completely, so if that is what you're after, plan around new Moon. For lunar observing, look along the terminator, the line between light and shadow, a few days either side of first or last quarter. That's where craters show their depth.
Then think about altitude. Objects low over the horizon shine through a thicker slice of atmosphere, so they look washed out and unsteady in the eyepiece. Check when your target climbs highest and observe it then.
There's a related trap: judging the night by how clear it looks from a lit window. Transparency and steadiness are different things. A night with a slight haze can be rock-steady and superb for planets and double stars, while a crystalline, sparkling evening may be boiling so badly that Jupiter refuses to settle. Give any scope half an hour outside to cool to the air temperature, and look up at a bright star before you commit. If it twinkles frantically, it's a night for clusters and the Moon, not fine planetary detail.
Astrophotographs are the product of long exposures and careful processing. Your eye cannot do that. Through a modest telescope, the Orion Nebula is a soft grey-green glow, the Andromeda Galaxy is an elongated smudge, and Jupiter shows two cloud belts with four tiny dots for moons.
That stops being a disappointment once you know how to look. Detail comes from patience rather than magnification. Try averted vision: look slightly to one side of a faint object and it often appears brighter, because the outer retina is more sensitive in the dark. Then simply stay with the object. Five minutes on one galaxy will show you more than five seconds on twenty of them, partly because your eye keeps improving and partly because you learn what to look for.
It helps to keep notes. Sketching a faint nebula, even badly, forces you to notice its shape, its edges and the two or three stars caught inside it. Come back a month later and the improvement will be obvious.
Beginners often aim straight at the faintest thing they've read about, fail to find it, and conclude that the hobby isn't for them. The sky rewards a gentler progression.
Start with things that are genuinely easy and genuinely beautiful: the Moon, the four Galilean moons shifting position night by night, Saturn's rings, the Pleiades, the double cluster in Perseus, Albireo's gold and blue pair. Find the brightest stars and the handful of constellations that anchor them. Once you can point at Vega, Arcturus or Orion without checking, finding everything else becomes far simpler.
Learn twenty bright objects thoroughly before chasing a hundred faint ones. The sky is not going anywhere.
A telescope does not solve a lack of familiarity with the sky, and a cheap one can actively make things worse. Supermarket scopes with huge claimed magnifications and flimsy mounts are the classic route to frustration: the image wobbles, the finder is useless, and nothing you look for stays in view.
A decent pair of 10x50 binoculars will show you craters, star clusters, Jupiter's moons and the Andromeda Galaxy, and they cost a fraction of a telescope. They also teach you to navigate, because you're looking at the whole sky rather than a narrow field. If you do buy a scope, remember that aperture, the diameter of the main lens or mirror, matters far more than magnification, and that a stable mount counts for as much as the optics. Second-hand gear from a local astronomy group is usually a better bet than anything boxed in a department store.
Standing still in the dark is much colder than walking around in it. Sessions end early far more often because of numb fingers and aching backs than because of cloud. Wear more layers than you think you need, including something on your head, and add a hat and gloves even in spring. A reclining chair or a stool makes a long look genuinely comfortable.
Dew is the other quiet problem. It fogs eyepieces and star charts within an hour, so keep a cloth handy, use a dew shield, and store eyepieces in a pocket or case rather than leaving them exposed on a table.
None of this is complicated, and none of it costs much. Fix the light, pick a darker evening, choose your targets for the sky you actually have, and give yourself time to look. That pale smudge will start turning into something you recognise.
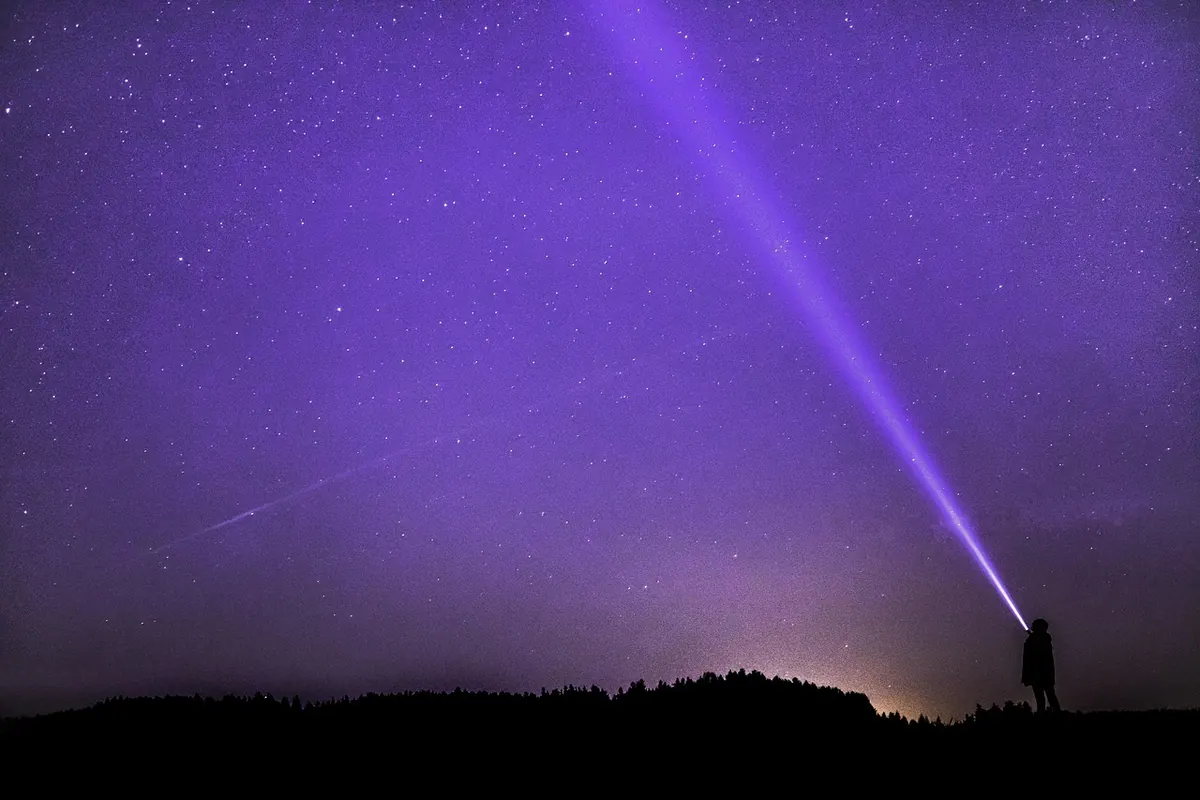
Photo: Felix-Mittermeier / Pixabay
A practical guide to finding a UK astronomy club, what happens at meetings and star parties, and how to...
The northern lights are rare from Britain but not impossible. Here's how forecasts, dark-sky sites and...
A practical first-night guide to assembling, aligning and focusing a new telescope, with a checklist to...