Community Astronomy Clubs in the UK: How to Find One and What to Expect
A practical guide to finding a UK astronomy club, what happens at meetings and star parties, and how to...

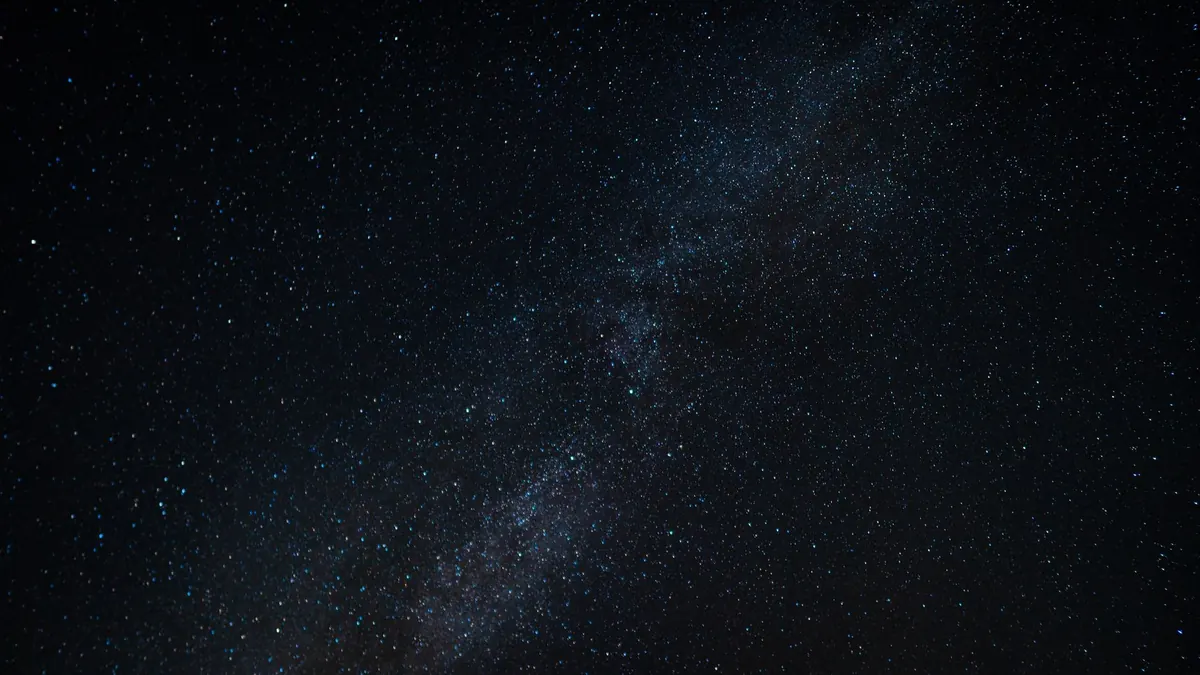
The galactic core is one of the great sights of the night sky, and most tutorials about photographing it were written by someone in Arizona. From Britain, the core scrapes along the southern horizon, vanishes behind cloud for weeks and competes with twilight through most of the summer. It is still entirely achievable. You just have to work with the UK's rules instead of against them.
What follows is the process that works here: when to go, where to stand, what to set, and how to turn a handful of noisy frames into an image worth keeping.
The bright centre of the Milky Way sits in the constellations Sagittarius and Scorpius. At our latitudes, between roughly 50°N and 58°N, it never climbs high — at best it clears the horizon by 10° to 20°, which is about the width of your outstretched hand held at arm's length. That means a low, clear southern horizon matters more than almost anything else.
The core is above the horizon on some part of the night from roughly late March through to October. The best true-dark windows are spring, in the early hours before dawn, and late summer into autumn, when it's well placed in the evening. Midsummer is the awkward stretch: astronomical darkness fades out for several weeks, and in the far north of Scotland it never arrives at all. You can still shoot during nautical twilight, but the contrast is poor and the results look washed out.
Work around the Moon as well as the season. Aim for a few days either side of new moon, or shoot after moonset and before moonrise. Check a moon phase calendar before you commit to a long drive.
Light pollution maps are your starting point. You want somewhere in the darker bands, ideally within a dark sky park or reserve: Exmoor, Eryri, Galloway Forest, Kielder, the North York Moors and the South Downs all qualify. But darkness alone isn't enough — you also need that southern view.
Visit your chosen spot in daylight first if you can. Knowing where the path, the puddles and the drop-offs are makes a huge difference when you arrive in the dark with a bag of kit.
You don't need exotic gear, but a few items earn their place. A sturdy tripod is essential — flimsy ones wobble in the slightest breeze. A camera that shoots RAW and offers manual control is essential. The lens matters more than the body: a fast wide-angle, f/2.8 or quicker, transforms what you can capture. A standard 18–55mm kit lens at f/3.5 can work at its widest, but you'll be leaning heavily on stacking to control noise.
Bring spare batteries (cold drains them fast), a red head torch to protect your night vision, a microfibre cloth, and ideally a lens heater or dew strap. Dew is the most common reason a promising UK night ends early. Add a remote shutter release or intervalometer, and more layers than you think you need.
Autofocus will fail. Switch to manual, switch on live view, and point at the brightest star you can find. Magnify the view to ten times and turn the focus ring until the star is the smallest, tightest point you can manage. Then tape the ring down so it can't drift. If your lens has a hard infinity stop, it's often slightly off true infinity — don't trust it blindly.
Arrive while there's still some light. Set up, level the tripod, and focus before true darkness falls if you can. Then compose: take a throwaway frame at ISO 12800 and 10 seconds so you can see the framing on the back screen, and adjust until the core sits where you want it.
Check the histogram rather than the preview. You want the peak of the data lifted off the left-hand edge but not bunched against it. Once you're happy, shoot ten to twenty identical frames without moving anything. Those are what you'll stack later. Between frames, glance at the front element — if dew is forming, wipe it gently and consider packing up before the images become mush.
Stacking is what separates a muddy UK Milky Way from a clean one. Free and inexpensive tools such as Sequator, Siril or Starry Landscape Stacker will align and average your frames, cutting random noise while keeping the stars sharp. Some will also blend in a separately exposed foreground, which is useful because a sky exposure that suits the stars almost never suits the ground.
In editing, keep it restrained. Set the white balance so the sky reads neutral rather than purple. Lift exposure and contrast, then use a graduated or brushed adjustment to bring out the core rather than brightening the whole frame. Apply colour noise reduction, then check for green or magenta casts in the shadows. Resist heavy saturation — the core is mostly pale yellow-white with dust lanes, not neon.
If you blend a separate foreground shot, keep it honest, and don't claim it as a single exposure. Most experienced astrophotographers composite, and most viewers appreciate knowing.
Pick a moonless night between late August and early October. Look for a spell of high pressure and clear skies, then check a cloud forecast the afternoon before. Drive to a dark site with an open southern horizon, arrive an hour before sunset, and use the last of the light to set up and focus on a distant object.
Shoot twenty frames, come home, stack them, and edit gently. Your first result may be modest — the core from Britain is faint, low and often hazy, and it will never look like a desert shot. But it's yours, and it's real, and the second attempt is always better than the first.
Photo: Chait Goli / Pexels
A practical guide to finding a UK astronomy club, what happens at meetings and star parties, and how to...
The northern lights are rare from Britain but not impossible. Here's how forecasts, dark-sky sites and...
A practical first-night guide to assembling, aligning and focusing a new telescope, with a checklist to...